Here is a short tutorial on how to create a Grayscale grunge and put some text on to it to get the following effect.
 Gray Grunge Effect
Step 1: Create a new Image 600×400 with a white background on gimp
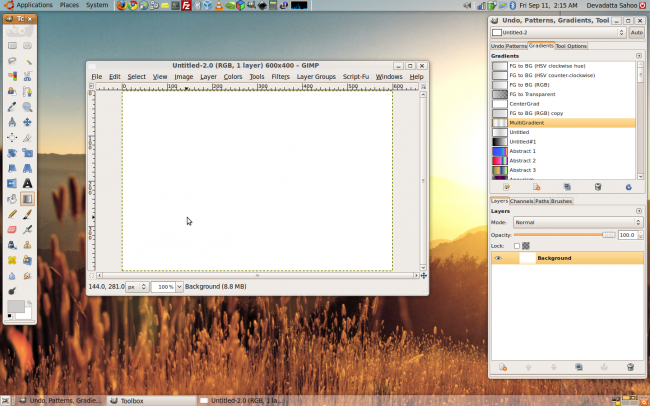 Step-1
Step 2: Next, create a gradient with multiple nodes on two colors (#FFFFFF) and (#CCCCCC)
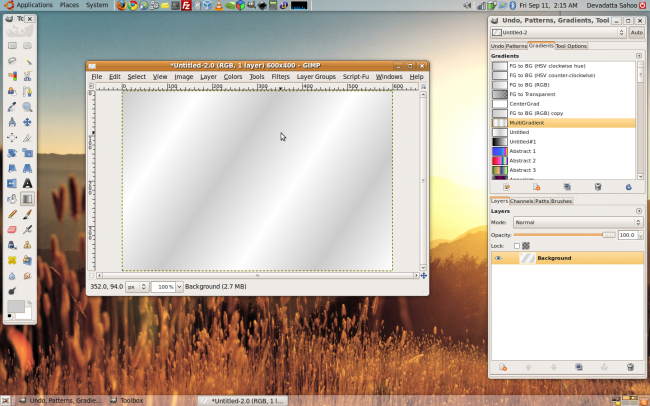 Step-2
Step 3: Next in the menu go to
Filters » Distort » Whirl and Pinch and enter the values shown in the image below.
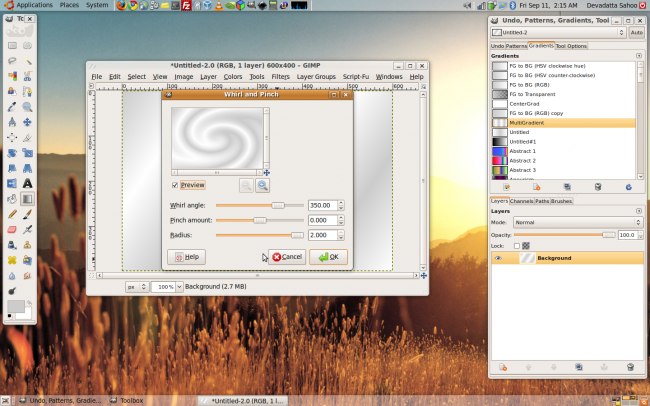 Step-3
Step 4: Next in the menu go to
Filters » Distort » Ripple and enter the values shown in the image below.
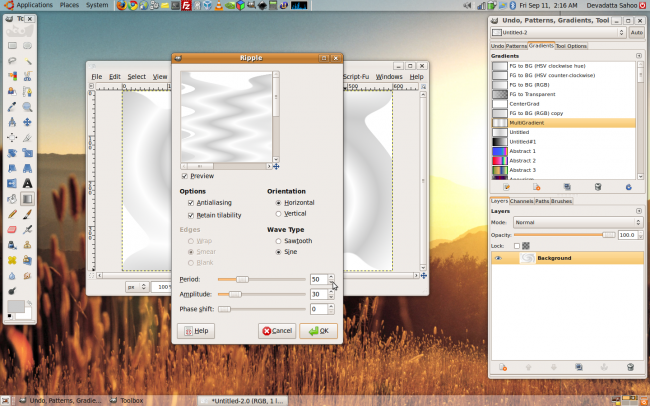 Step-4
Step 5: Open a grunge map having exactly the same size as our project
(i.e. 600 x 400)
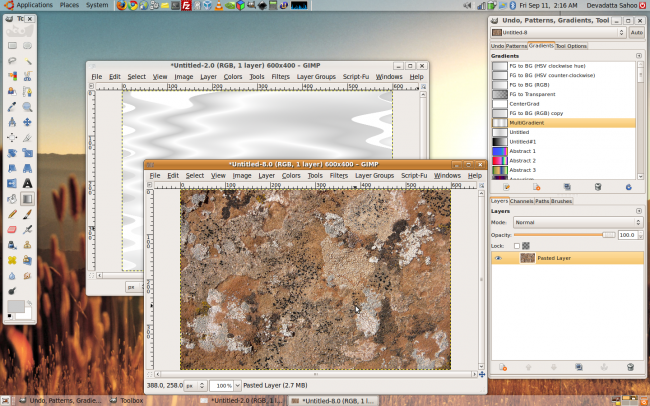 Step-5
Step 6: Next in the menu go to
Filters » Map » Displace and enter the values shown in the image below.
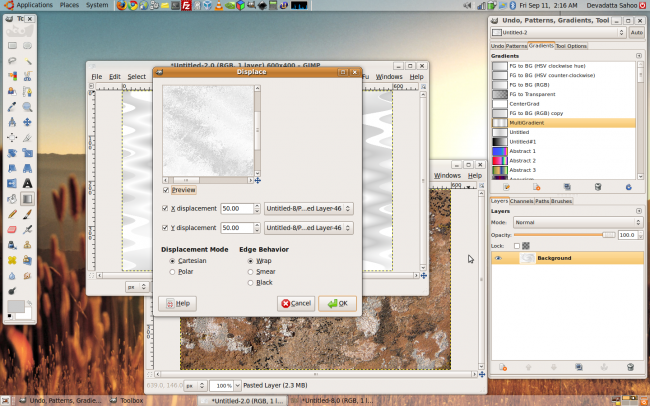 Step-6
Step 7: Now lets put some text. Use the text tool to type in some text using the Grunge Font.
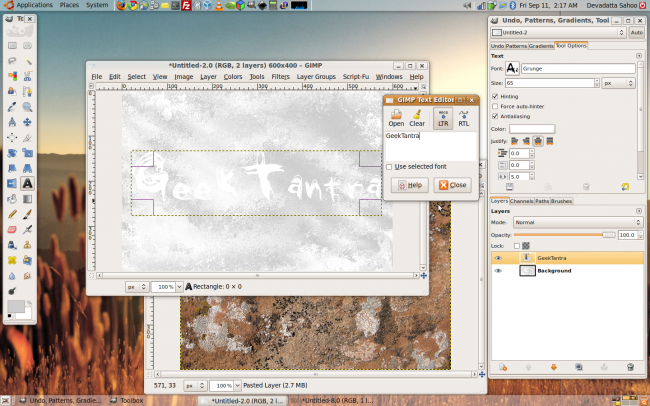 Step-7
Step 8: Next in the menu go to
Script-Fu » Layer Effects » Drop Shadow and enter the values shown in the image below.
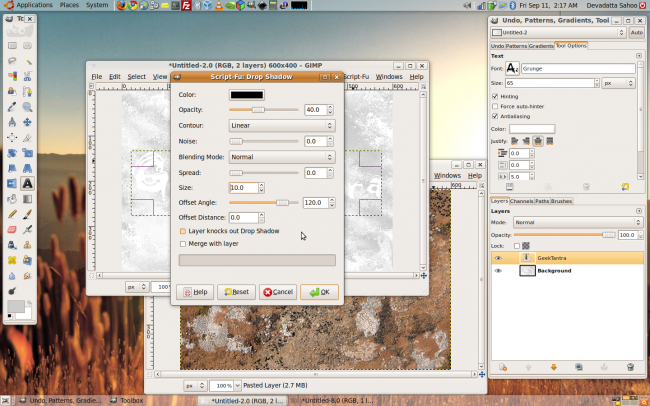 Step-8


3 replies on “Create a Grayscale grunge in Gimp”
Thanks for this tutorial. Are you going to write a new Dreamweaver tutorial soon?
Try to give the total description not the half.
That was awesome! Thanks for the recommendation! I even did a review on my website! Why am I using exclamation marks everywhere! 😀